
“Must know: sourdough discard bread” A bit dramatic? Maybe. But when I tell you this is the hands down most used recipe in our house, it is for a good reason. Why? let me tell you…
- So quick- This sourdough discard bread is ready in about 5 hours only, start to finish.
- No waste- using up any extra sourdough discard you might have sitting in your fridge
- No planning ahead- just pull discard from your fridge and use it straight away.
- Last minute recipe- No need to feed the sourdough and wait for it to bubble up ahead of time
- Freezes beautifully- After the bread has cooled, I slice and place in the freezer, taking out slices as needed.
Some might say this is a cheater (gasp) version of sourdough bread because it uses commercial yeast to really get things rising. But for me, it is more important to be able to use what I have, when I have it, and sometimes I don’t have 2 days to wait for a loaf of bread. I just know you don’t either.
Another perk of making your own bread is that you are aware of the ingredients that go into it. From an allergy family perspective, finding ‘safe’ baked products is challenging. Making your own baked products can be much less stressful. Once you have made it a couple times, it is so easy to pull together without ever looking at the directions again.
The Process- How to achieve the perfect sourdough discard bread loaf: A step by step guide

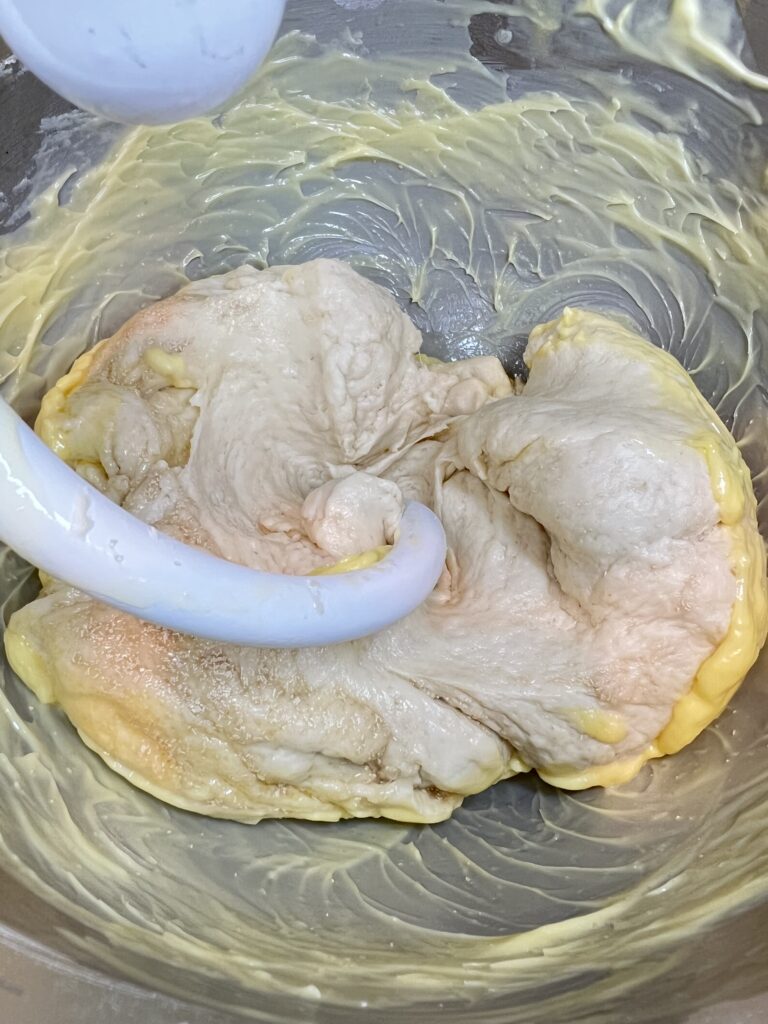
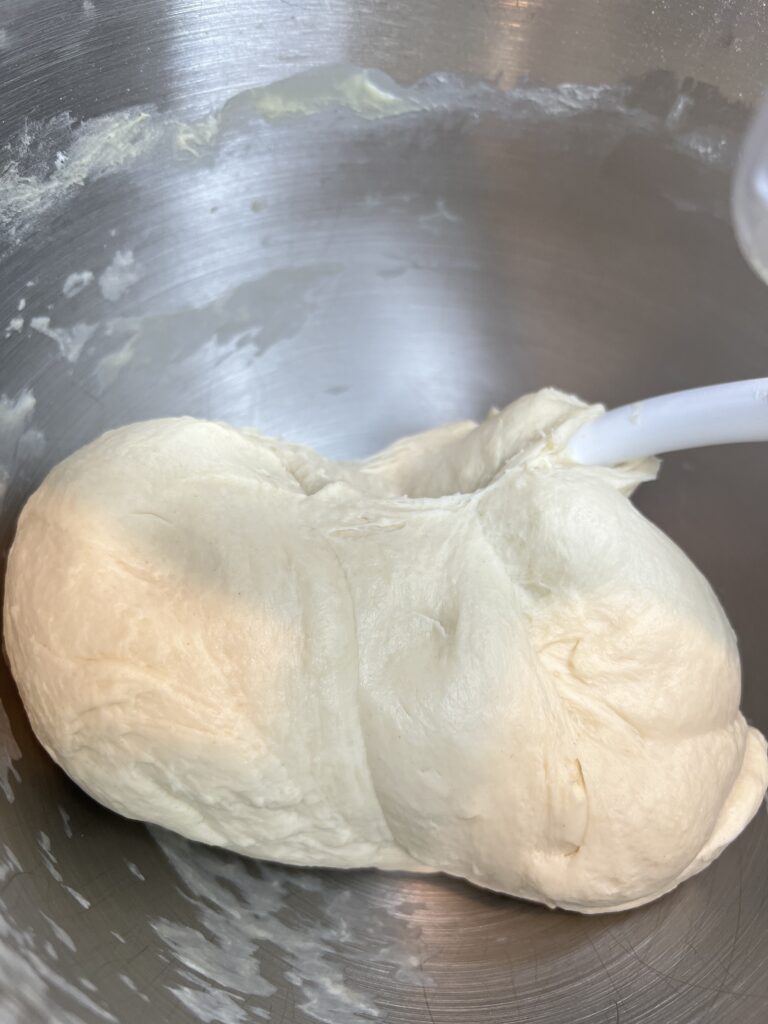
After 30 minutes, add in yeast, salt, sugar, and butter. Continue kneading on stand mixer for 5-10 minutes. Add in extra flour a tablespoon or two at a time until dough comes together and butter no longer is seen and is fully incorporated.


Things that helped in the kitchen for this recipe, and can help you too:
- To make perfectly square sliced bread, Pullman Pans – amazon -the 2 pack is handy if you ever wanted to double this recipe or make another discard loaf like this cheese bread.
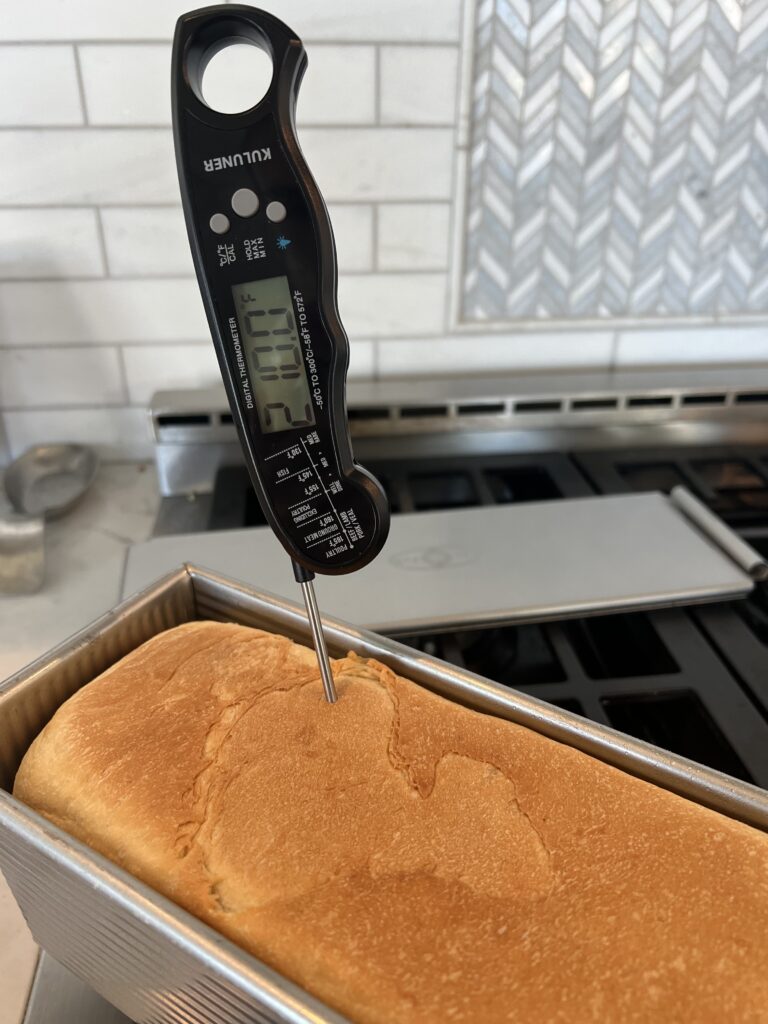
- Food thermometer (amazon) to check the temperature of basically everything and anything. One of my most used and underrated kitchen tools.
- wire racks, amazon, or Home Goods – I use this specific brand and size and it fits my 17.25 X 12.25 inch USA half sheet Pan which can be found on amazon or Home Goods!
- A container to watch and track your dough rise, and the lid both on amazon. It is beyond me why they don’t sell the container and lid together.
- The best serrated bread knife, 10 inches so it’s perfect for large loaves. Don’t forget the protective cover to store it! (Amazon)
As an Amazon Associate I earn from qualifying purchases. This comes at no cost to you, just like a free Disney travel agent. I’m only here to make suggestions that hopefully help you 😉

Must know: Sourdough Discard Bread Loaf [vegan, Nut Free]
Ingredients
- 100 grams sourdough discard (unfed sourdough starter)
- 250 grams water at room temperature or cool
- 510-550 grams all purpose or bread flour*
- 7 grams instant yeast
- 10 grams sea salt
- 20 grams sugar
- 55 grams softened/melted butter
Instructions
- In the bowl of your stand mixer, combine sourdough discard, water and 510 g flour. Before setting the mixing bowl on the stand mixer, hold the dough hook and stir to combine. Then, attach the bowl and dough hook, and mix these ingredients on speed 2-3 until it turns into a dry ball of dough (about 30-60 seconds.)
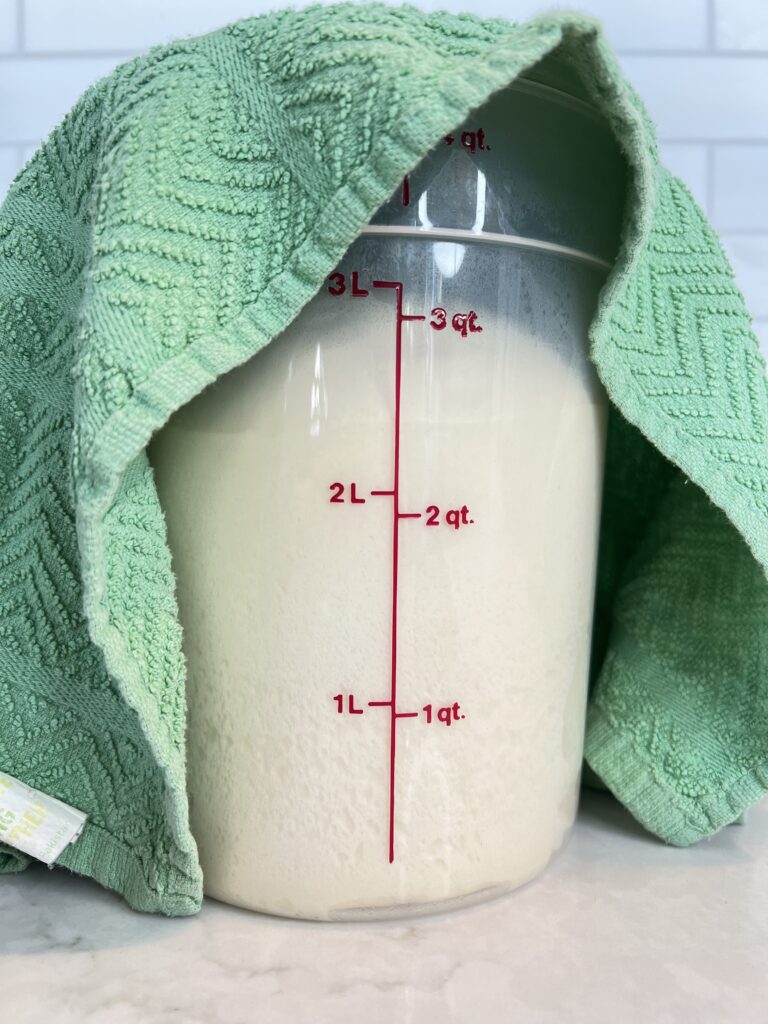
- Cover with a kitchen towel and let dough rest for 30 minutes, in the meantime measure out the remaining ingredients.
- After 30 minutes, add in yeast, salt, sugar, and butter. Continue kneading on stand mixer for 5-10 minutes. Add in flour a tablespoon or two at a time until dough comes together and butter no longer is seen and is fully incorporated.
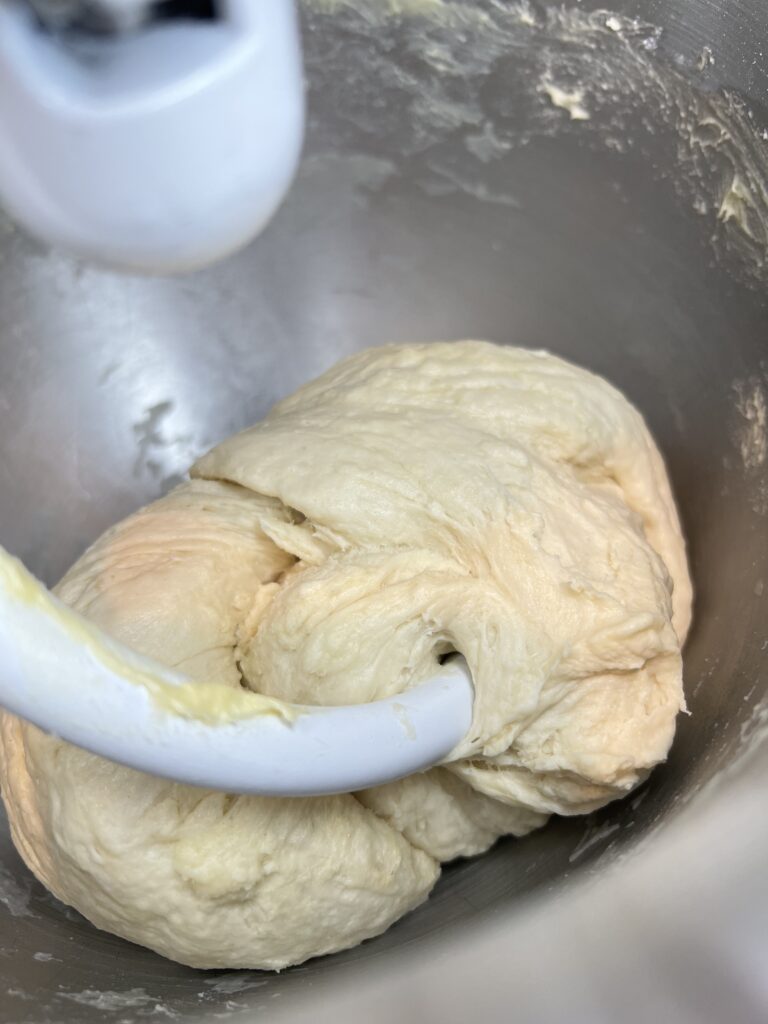
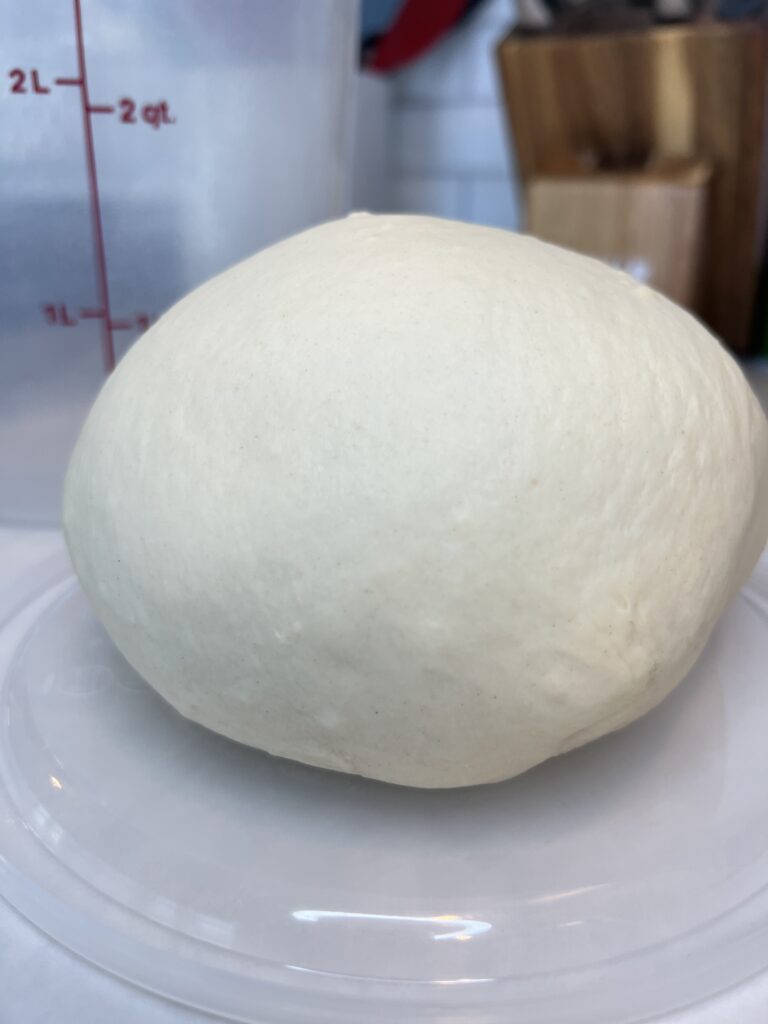
- Kneading is complete when you have a smooth ball of dough that generally swirls along staying attached to the dough hook. Turn off mixer, remove dough and shape into a smooth ball. Gently poke/push the dough in with a finger and watch for it to spring back. If it pops back quickly it is a good sign the dough is done kneading.
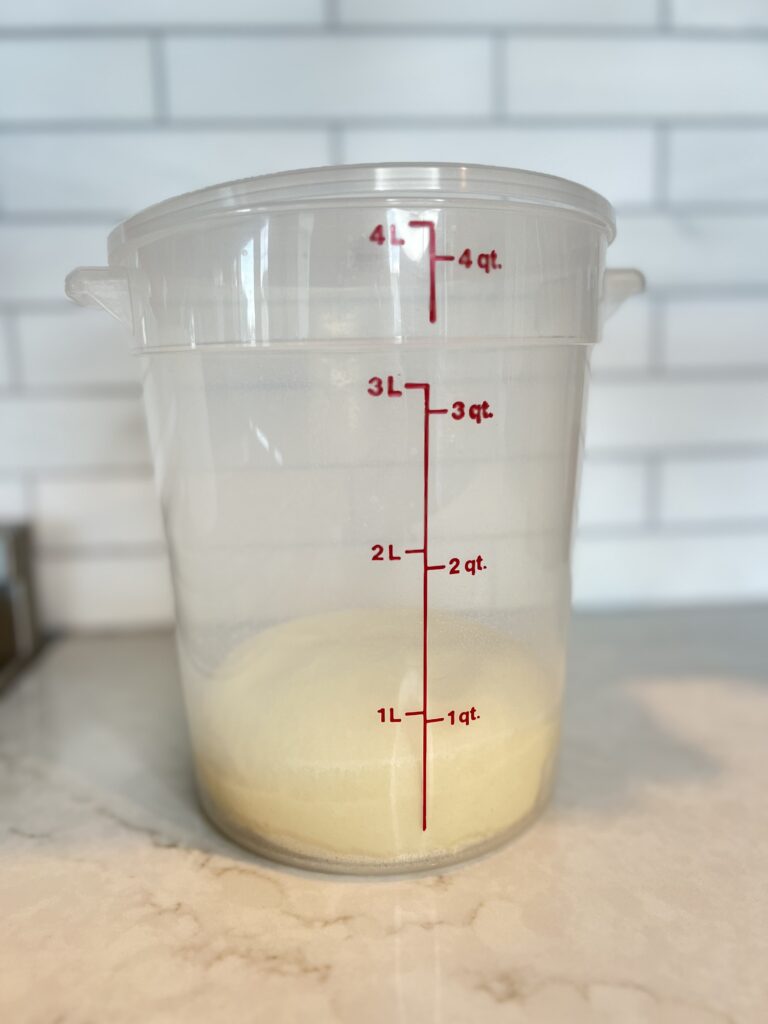
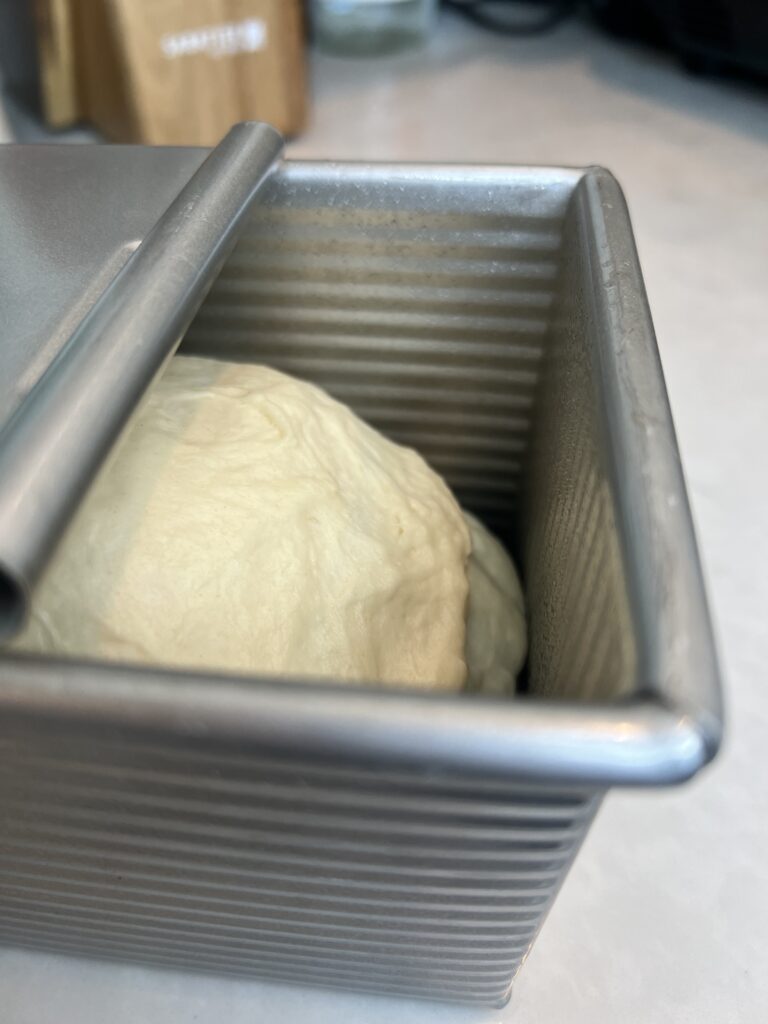
- Place dough in a greased, clear container, or any container that will be easy to recognize it has doubled in size. I prefer to use this one, with the numbers. Rise until at minimum doubled in size (approximately 1.5-2 hours, depending on how warm your house is.) Instant yeast will make it rise quickly so keep an eye on it!
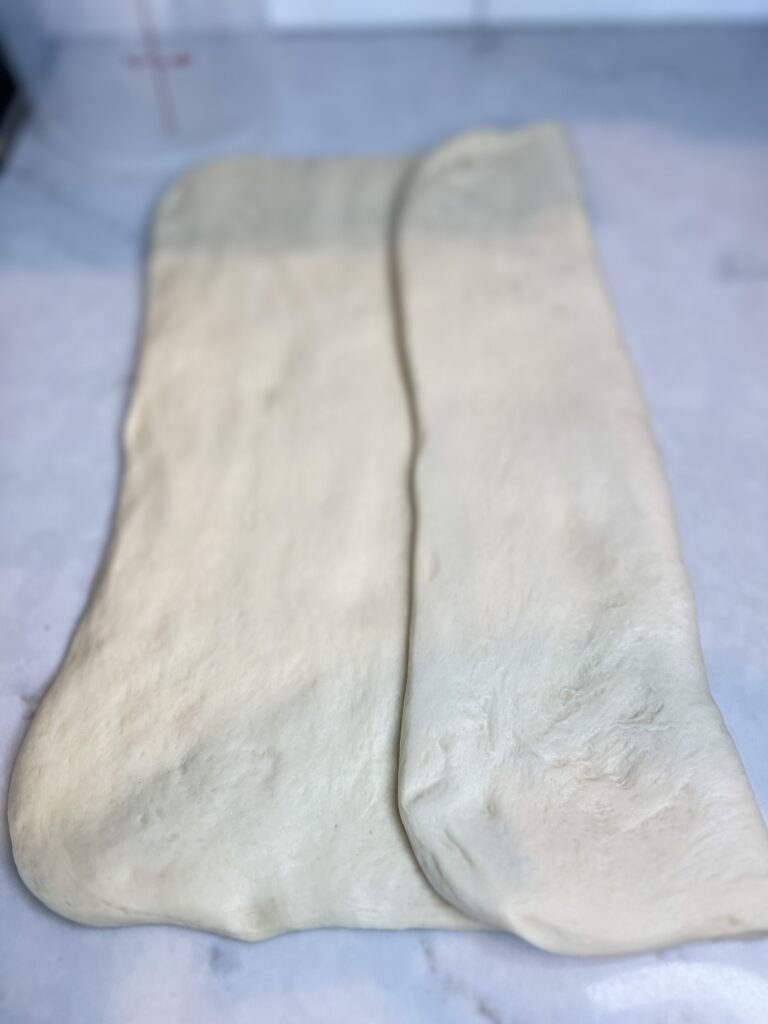
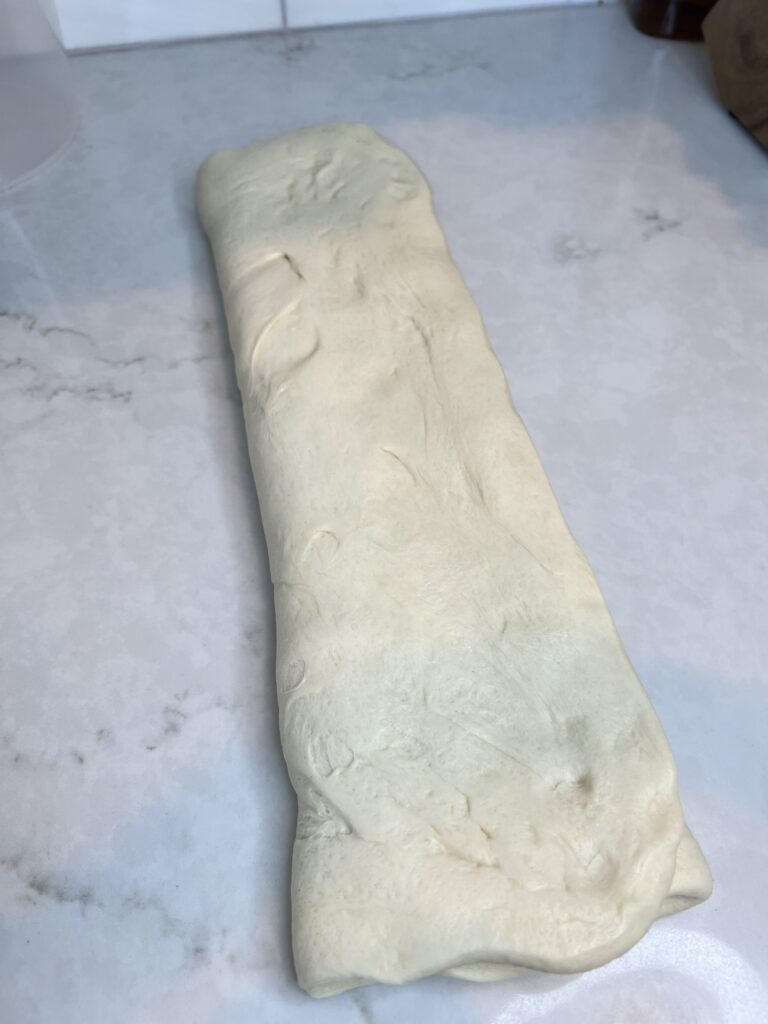
- After it has doubled in size, remove to the counter and flatten and stretch the dough with your hands until it makes a large rectangle. Mentally divide into thirds, and fold the far right 1/3 over the center 1/3. Lastly, fold the left hand 1/3 section onto the 2/3 section, so it is another long skinny rectangle with 3 layers stacked neatly on top of one another.
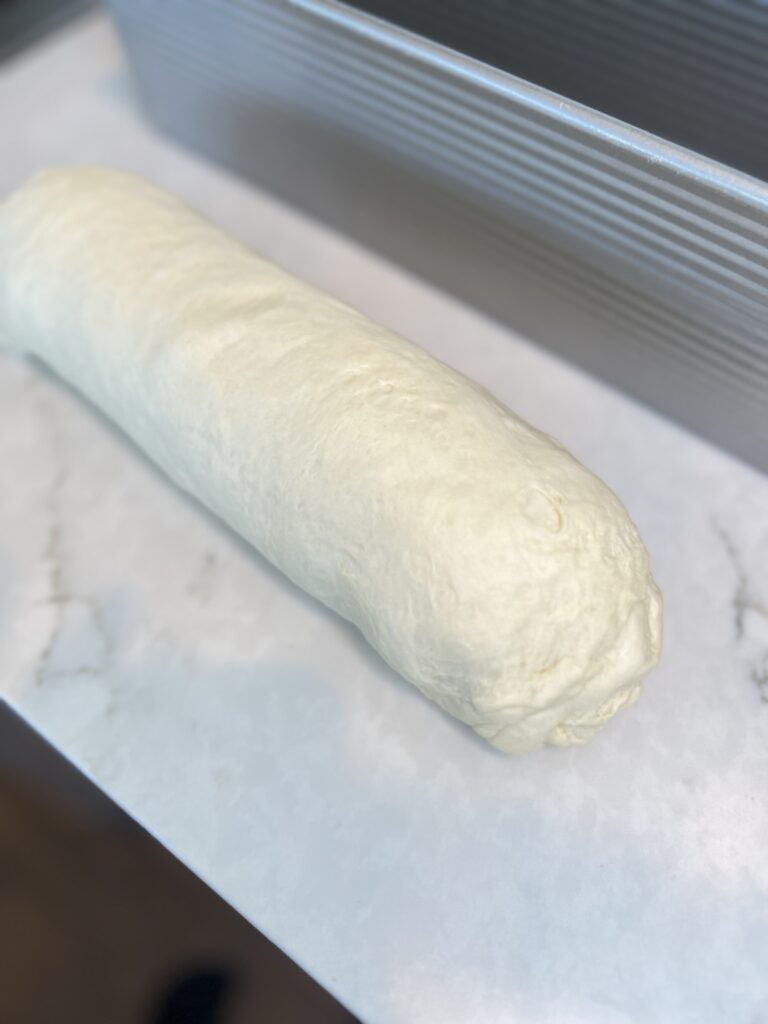
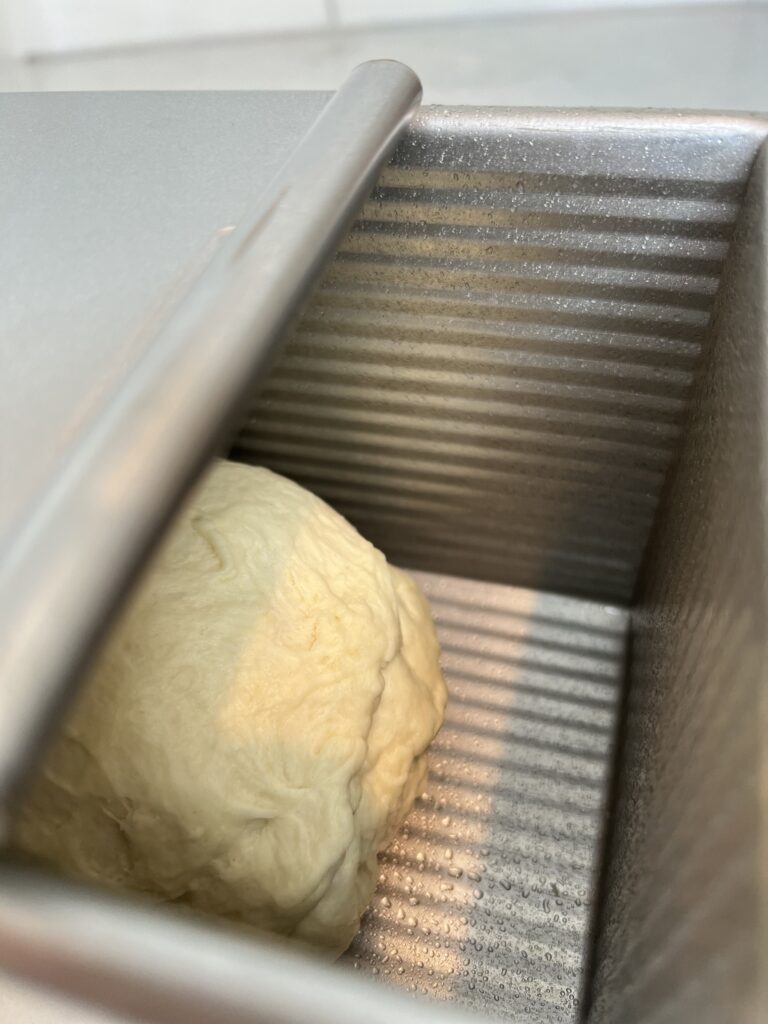
- Tightly roll the dough from the bottom of the just formed skinny rectangle, tucking the dough under itself basically as you go. You'll need to stretch and flatten the dough as you roll to keep it similar to the shape of your loaf pan. I love the USA pullman loaf pan with cover, but you can use whatever loaf pan you prefer! Once it is your desired shape and size, tuck the rough ends under to smooth it out and place seam side down into a greased loaf pan.
- Allow to rise for another 45-60 minutes approximately until once again doubled in size. Watch closely in this final rise, as you will want to preheat your oven when it looks like it is nearly risen.
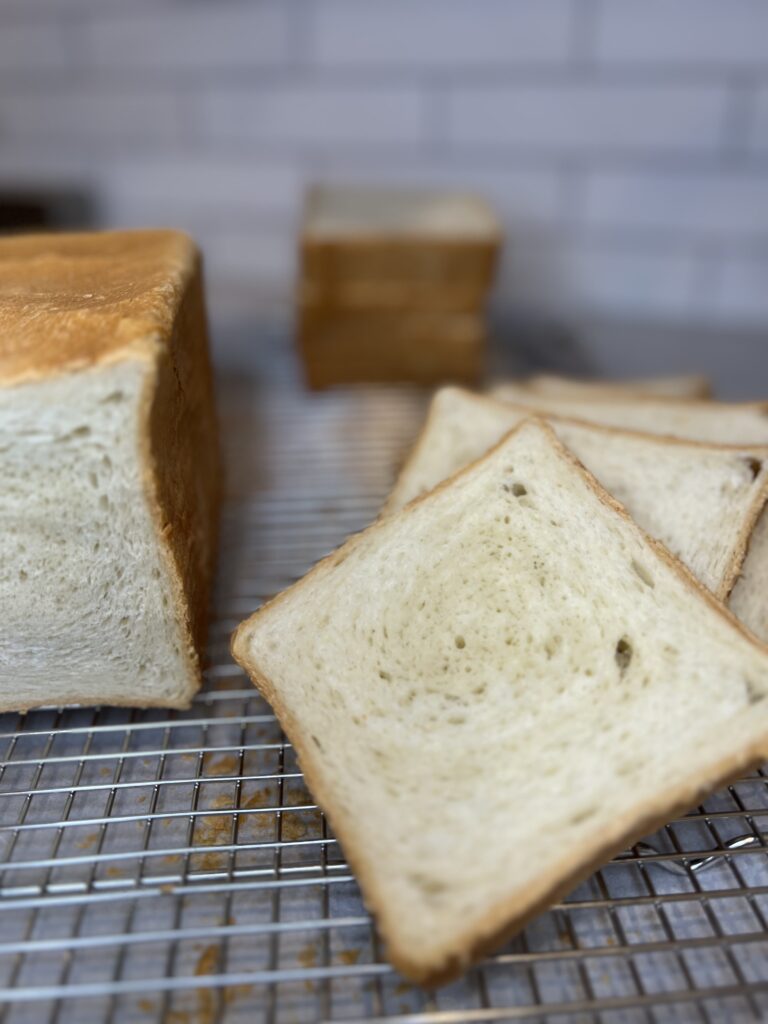
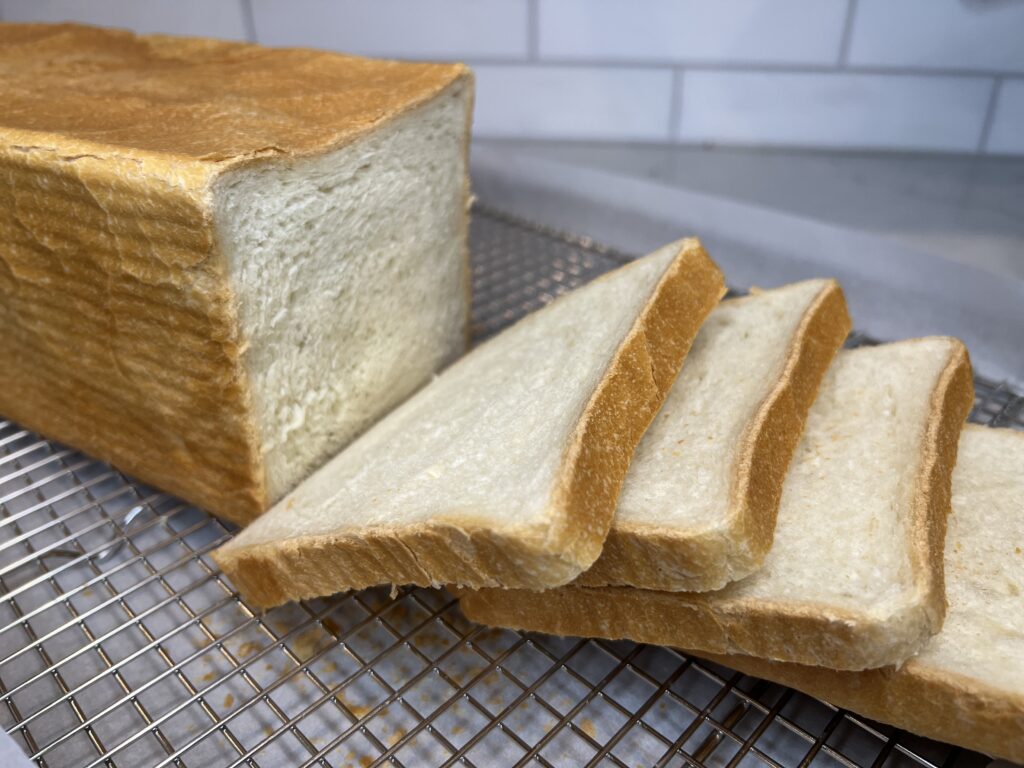
- Place in preheated 350°F oven, and bake for 50-60 minutes, until internal temperature reaches 190°- 210℉. Remove to wire rack immediately to allow to cool. Try not to cut the warm bread, I know it is tempting but it is best to let it cool for multiple reasons.
- You're done, you did it!!!
Notes
*Tips, Tricks and Substitutions
*I have used both all purpose flour and bread flour, and while I prefer bread flour, both lend successful results. *To make it dairy free or vegan, use a vegan butter substitute (our preferred is country crock avocado oil butter sticks) *Using a covered pullman pan versus uncovered loaf pan doesn’t change bake time for me. *Slice and freeze leftover bread, to quickly reheat use microwave or toaster or allow to come to room temperature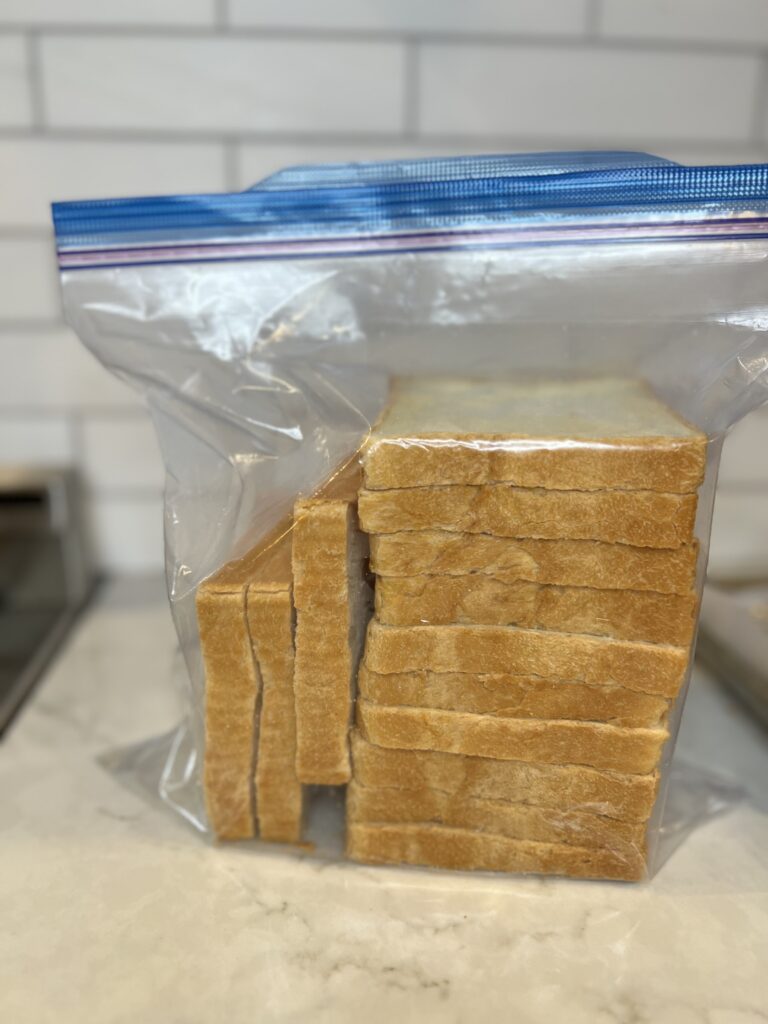
Not what you’re looking for? Head over to home to find more delicious recipes!
3 responses to “Must know: Sourdough Discard Bread Loaf [vegan, Nut Free]”
-
[…] Follow steps 1-5 below. Prepare the dough of your sourdough cheese bread the same as the regular recipe here. […]
-

I’m wondering if you can make this into a cinnamon raisin bread?
-
I think you could! Keep in mind cinnamon hinders yeast, so you might want to add 1-2 g more yeast to the original recipe 🙂 Alternatively you could try my sourdough cheese loaf recipe, and add the cinnamon and raisins instead of the cheese. It would be more like a cinnamon swirl bread.
-


Leave a Reply