These egg free Oreo cheesecake dessert cups are a winning combination of sweet, creamy, vanilla cheesecake paired with the classic Oreo crunch. They are a decadent dessert that requires no baking, and they are entirely egg free. Individual portions are layered in a charming and convenient dessert cup. Ideal for picnics or dinner parties, or simply at home desserts with the family.
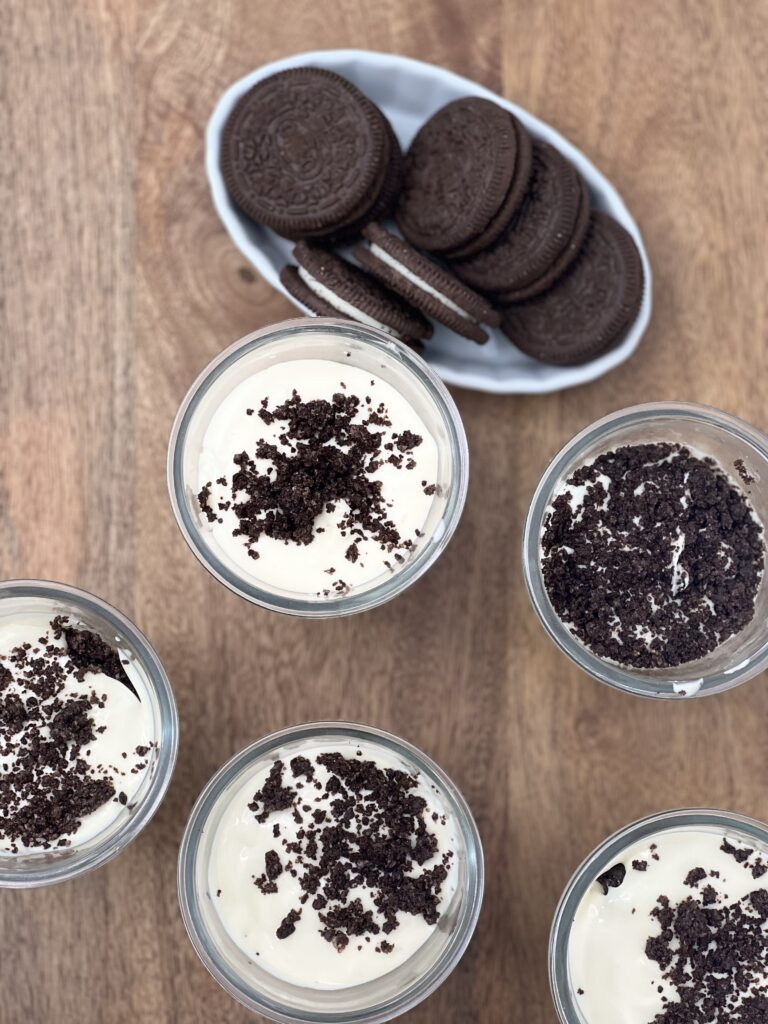
The simplicity of the ingredients make it a breeze to whip up, and the best part, you allow the fridge to do all the work as it sets up. Regular cheesecake requires a specific and careful method to follow. This recipe? Not so much!
Here is how no bake egg free oreo cheesecake is better than regular baked cheesecake:
- No finicky ‘water baths’ for cheesecake,
- no pre-baking an oreo crust,
- no need to time everything out perfectly, and then waiting for it to cool down
No sir. All you do is whip up the ingredients and layer them, then cover and cool. Go get your back waxed, clean the house or ahhh relax while you wait.
Additionally, I want to add that there are only six ingredients in this recipe. Can we reiterate how easy that makes this recipe? I do love when that happens!

Moreover, there is a beautiful thing about using Oreos in desserts. They are often a crowd pleaser, and did you know that Oreos are naturally vegan? Shocking, I know! It also makes them a safe bet for many, which is why I love them. No need to worry the next time one of your vegan friends come over, just bring out a stash of Oreos and you’re set.
Dessert cups- I use glass, but if you were to take them on a picnic you could easily use a less fragile, plastic clear cup. For an enchanting dinner party, you could fancy it up with some extra special dessert glassware with a stem, or even a wine glass.

Have your (cheese)cake and eat it too! A no bake, make ahead dessert is one of the best kinds of desserts. When you are ready for it, it is ready for you!
How to achieve convenient, charming egg free Oreo cheesecake dessert cups:
Gather your first two ingredients: 6 oz cream cheese, and 1/2 cup heavy whipping cream.
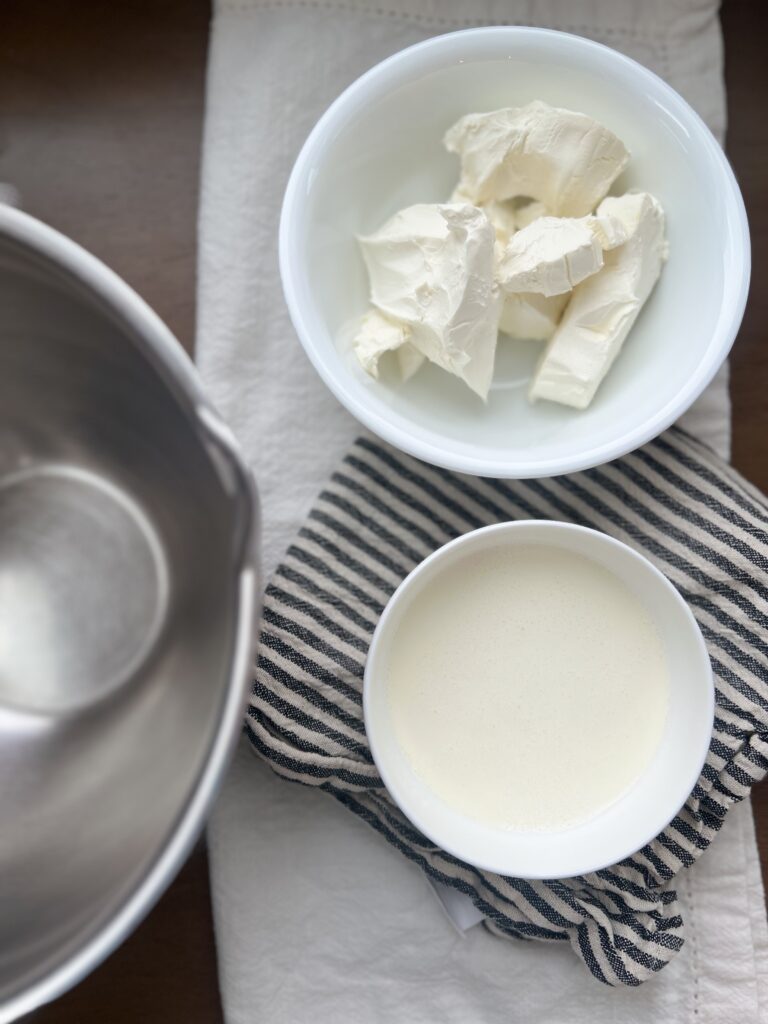
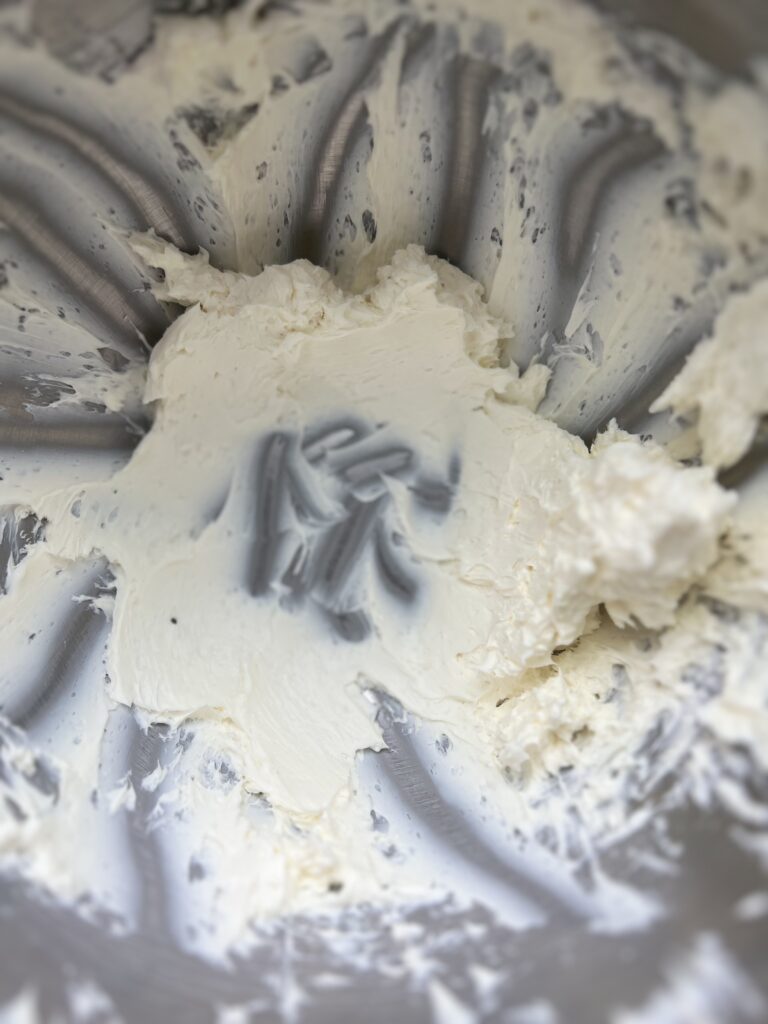
In a medium mixing bowl, whip the cream cheese with a hand mixer for about a minute to smooth it out.
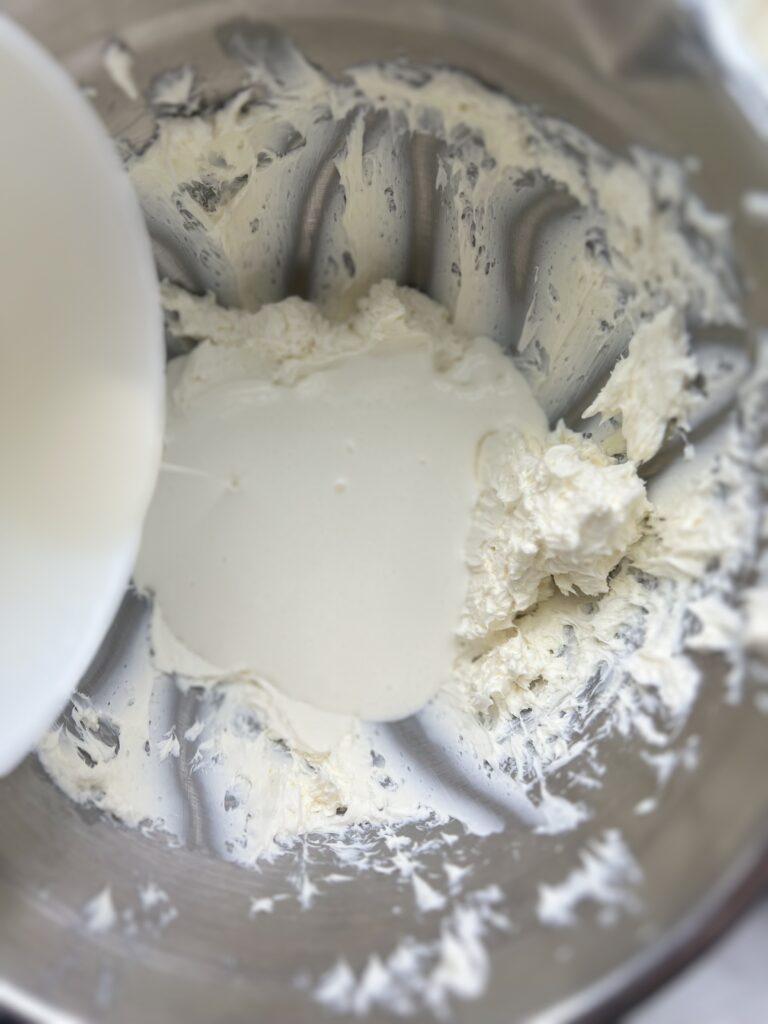
Make a well in the cream cheese, and in the center of the well, pour in the whipping cream. Beat just the whipping cream portion until soft peaks form, then combine with the cream cheese.
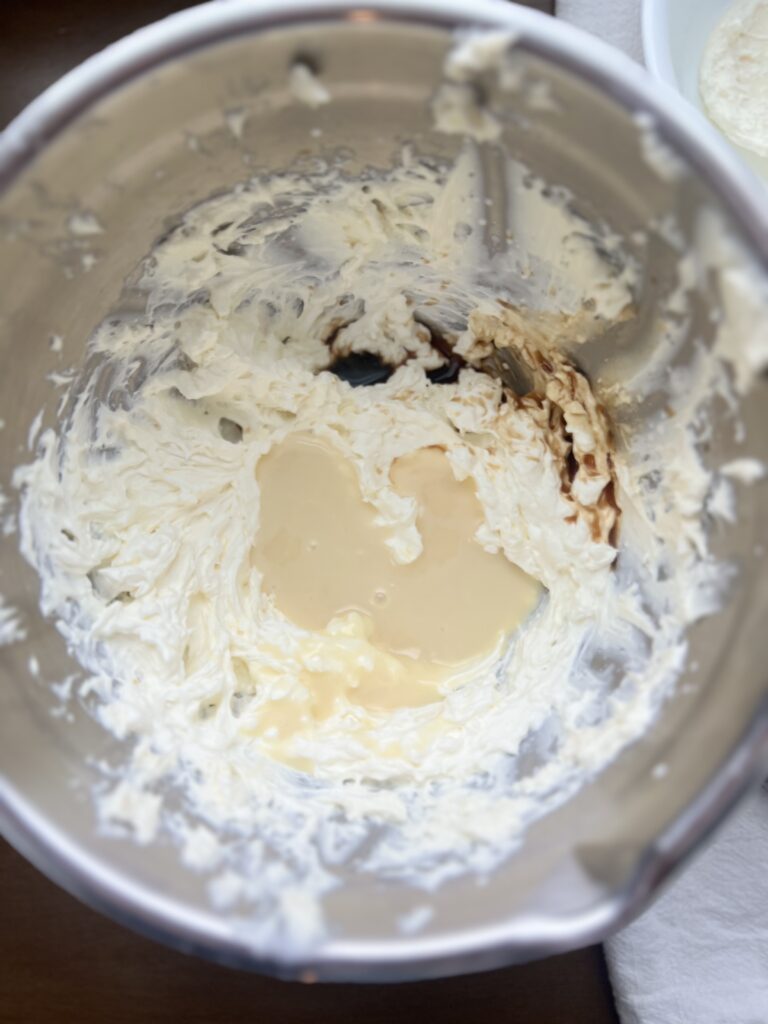
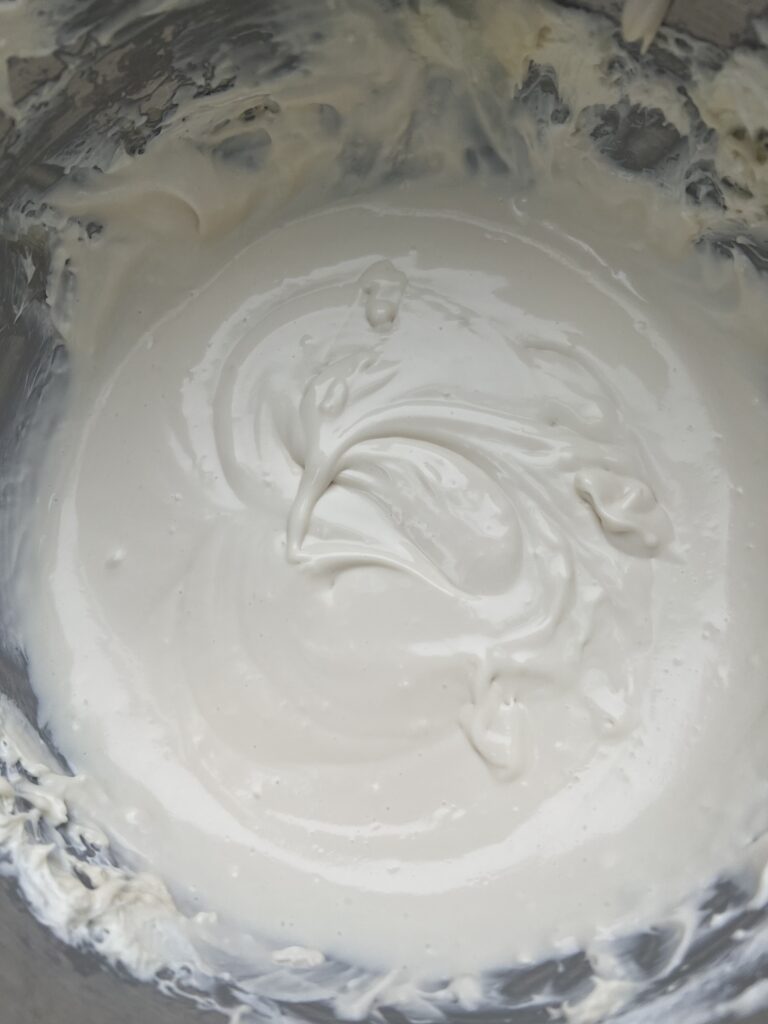
Add 1/2 teaspoon of vanilla and 1/2 cup of condensed milk. Beat just until all ingredients are combined. The consistency will be like a thick cake batter. Set aside while you make the Oreo crumble.
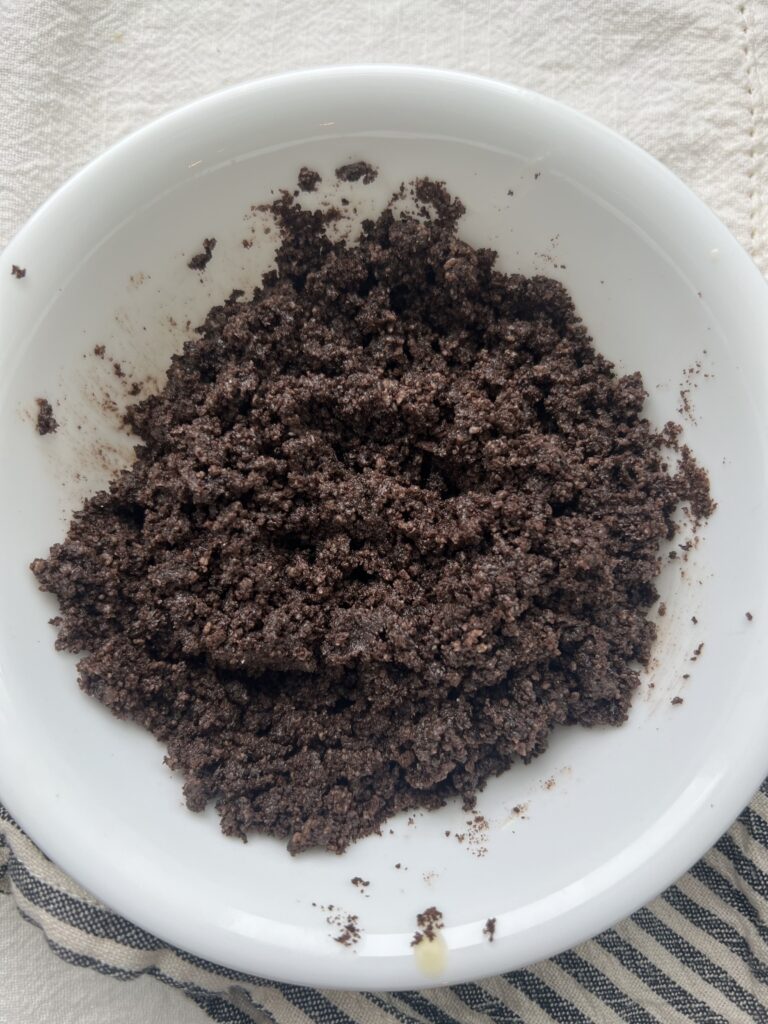
Make the Oreo/cookie cream sandwich crumble by blending 10 whole Oreos in a food blender (or food processor or in a sealed bag whacked with a rolling pin) until you get coarse but mostly small, ground crumbs (some larger bits are ok, just not going for fine-sandy crumbs.) Add to a bowl of 2 tablespoons of melted butter, and mix well until all crumbs are coated.
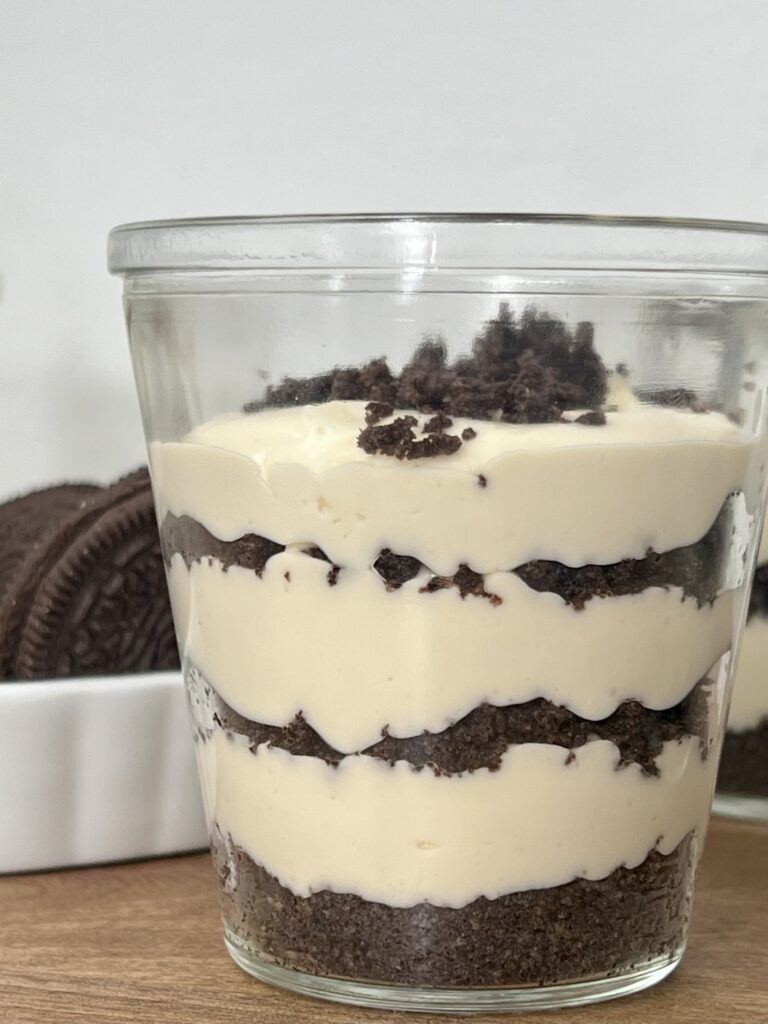
Grab five 6oz clear cups (or jars would be cute) and measure out about 1 teaspoon of crumbs on the bottom layer, pressing it down into the cup to flatten like a crust.
Then add your cheesecake layer, about 1 1/2 tablespoons. Next add a 1-2 teaspoon cookie crumb layer, sprinkled on gently and not patted down like the crust, and continue on with another cheesecake layer and finally top it off with a sprinkling of cookie crumbs. Depending on the size of the cups or vessels you use, you should be filling these about two-thirds full. Leave a space at the top because you will be covering with plastic wrap.
In essence, it is:
first – Oreo crumb flattened to bottom to make a crust.
second – cheesecake layer (about 1-2 tablespoons)
third – hefty sprinkling of Oreo crumb (about 1-2 teaspoons)
fourth – cheesecake layer (about 1-2 tablespoons)
fifth – sprinkling of cookie crumbs to top it off.
All this to say, if you wanted to do thinner layers of cheesecake and add additional third cheesecake layer, you could totally do that (as you can see in some pictures.) The ratio is up to you and your preferences!
Repeat process with remaining cups. Cover and refrigerate for 4-8 hours before serving. It will set up over time, creating a luscious, smooth but thick cheesecake texture. The next day they are still great and even more firm.
Things that helped in the kitchen for this recipe, and can help you too:
Stainless steel mixing bowl with non-slip base – amazon
Pyrex 2 cup measuring cup – an absolute staple in the kitchen
Stainless steel measuring spoon set– mine have held up for years!
As an Amazon Associate I earn from qualifying purchases. This comes at no cost to you, just like a free Disney travel agent. I’m only here to make suggestions that hopefully help you 😉

No bake egg free Oreo cheesecake dessert cups
Ingredients
No bake vanilla cheesecake
- 6 oz cream cheese
- 1/2 cup heavy whipping cream
- 1/2 teaspoon vanilla extract
- 1/2 cup sweetened condensed milk
Oreo crumble filling
- 10 whole regular Oreos not double stuffed
- 2 tbsps butter melted
Instructions
- In a medium mixing bowl, whip the cream cheese with a hand mixer for about a minute to smooth it out and lighten it.
- Make a well in the cream cheese, and in the center of the well, pour in the whipping cream. Beat just the whipping cream portion until soft peaks form, then combine with the cream cheese.
- Add vanilla and condensed milk. Stir until all ingredients are combined and has created a thick cake batter consistency. Set aside.
- Make the Oreo/cookie cream sandwich crumble by blending 10 whole Oreos in a food blender* until you get coarse but mostly small, ground crumbs (some larger bits are ok, just not going for fine-sandy crumbs.) Add to a bowl of 2 tablespoons of melted butter, and mix well until all crumbs are coated.
- Grab five 6oz clear cups (or jars would be cute) and measure out about 1 teaspoon of crumbs on the bottom layer, pressing it down into the cup to flatten like a crust.
- Then add your cheesecake layer, about 1 ½ tablespoons. Next add a 1-2 teaspoon cookie crumb layer, sprinkled on gently and NOT patted down like the crust, and continue on with another cheesecake layer and finally top it off with a sprinkling of cookie crumbs. Depending on the size of the cups or vessels you use, you should be filling these about two-thirds full. Leave a space at the top because you will be covering with plastic wrap.
- All this to say, if you wanted to do thinner layers of cheesecake and add additional third cheesecake layer, you could totally do that (as you can see in some pictures.) The ratio is up to your preferences and how much of an ingredient you need!


